Google Keepは写真も貼れるメモアプリです。
事前に撮影した商品の写真をGoogle Keepに貼り付けておいて、それを見ながら買い物をするなんて使い方もできてかなり便利です。

写真を見れば間違いがない!
写真にちょっとした手書きメモもできるスグレもの!
AndroidとiPhone対応、無料で利用できるのでぜひ活用しましょう。
また、Google Keepのその他の使い方はの記事がおすすめです。基本ワザ・便利ワザを紹介しています。
また、Google Keepのその他の使い方はの記事がおすすめです。

- 大手通信企業の元SE
- 携わったSNSは約100件
- 業界歴15年のWeb解析士
- Google Analytics認定資格
Google Keepは写真も貼れるメモアプリ|AndroidとiPhone対応:無料

Google KeepはAndroidとiPhoneに対応している無料メモアプリです。
写真を貼りつけたメモを見るのはスマホ利用時の場合が多いと思います。
そこでまずはスマホでの使い方から見ていきましょう。
スマホ版Google Keepに写真の貼りつけ
写真の貼り付けにはいくつか方法がありますが、分かりやすくて簡単なものを取り上げます。
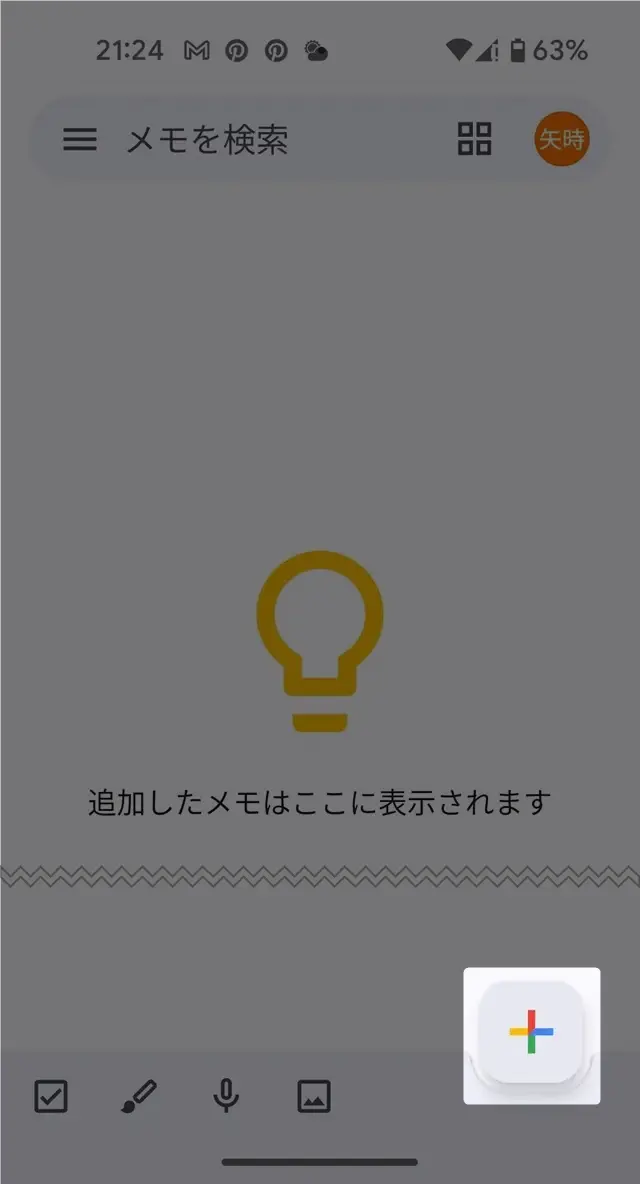
まずGoogle Keerppを起動してください。
画面右下のプラスマークをタップして新しい白紙のメモを開きます。
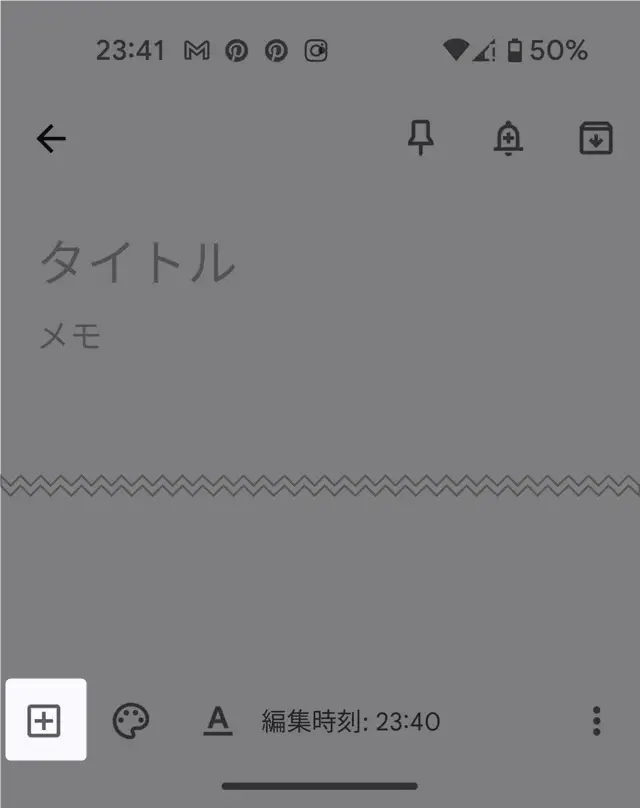
白紙のメモが開いたら、左下の+アイコンをタップしてください。
画像を追加を選択します。
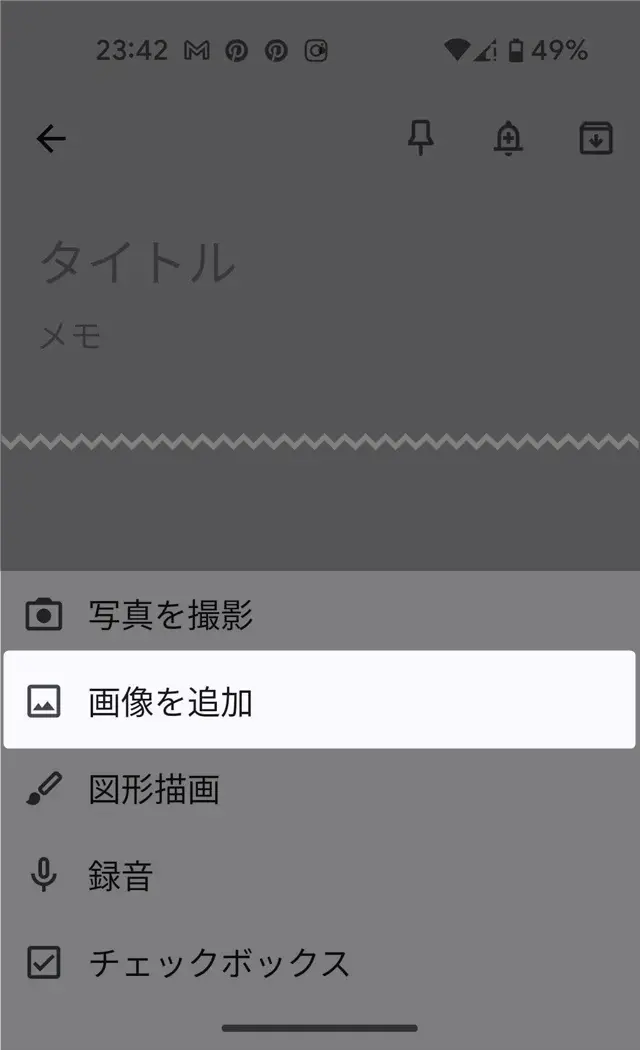
貼り付けたい画像を選択したら、追加を押しましょう。
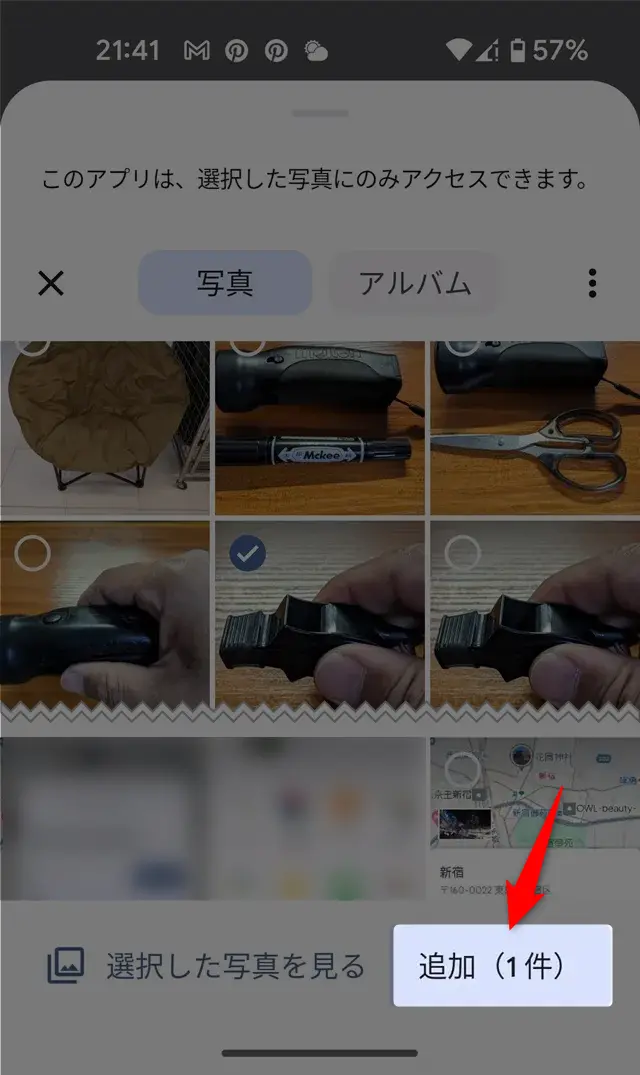
画像がメモに貼り付けられるまで、1~2秒ほどのタイムラグがあります。
少し待って画像が表示されたらタイトルと本文を入力しましょう。
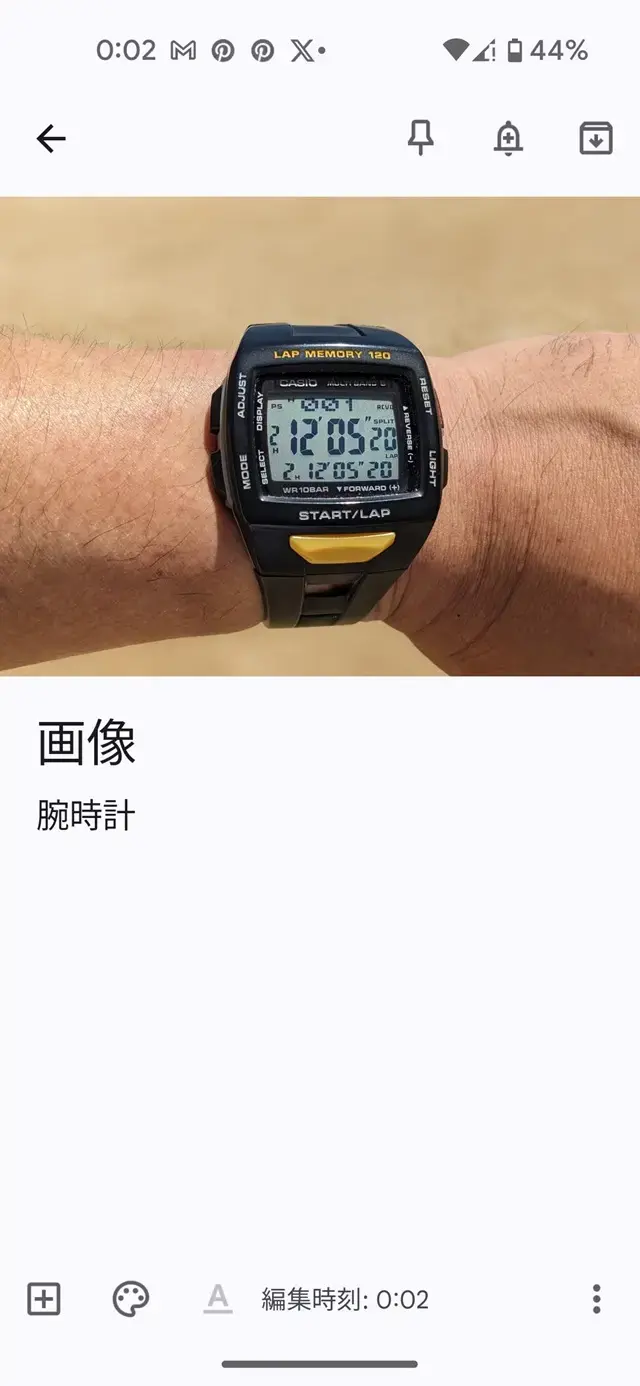
そして画面左上の←を押してメモ一覧に戻ってください。

以上の手順で写真を貼ったメモが一覧に反映されます。
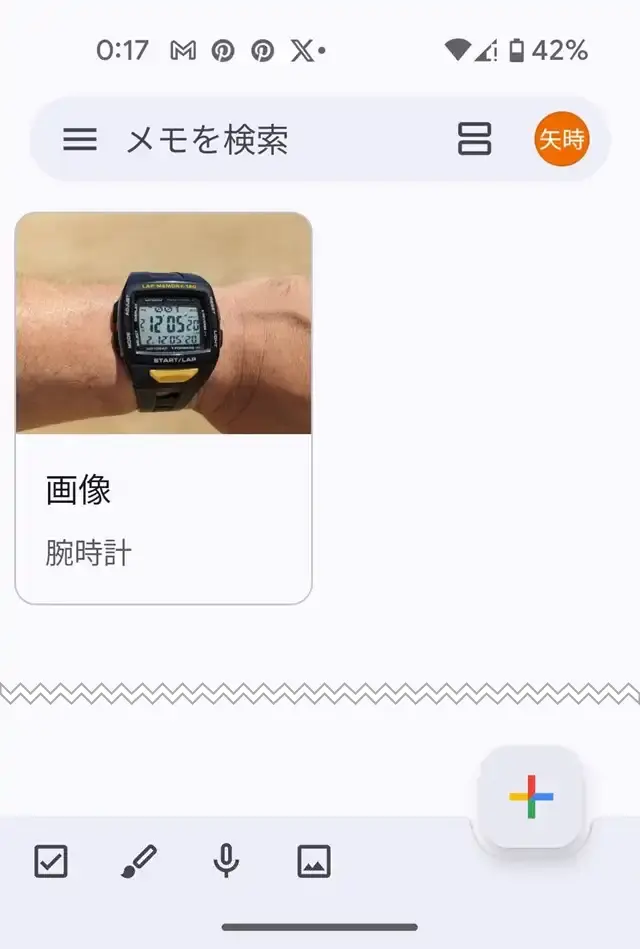
これがスマホアプリのGoogle Keepに写真を貼る方法です。
続いて、この写真に手書きメモを加える手順を説明します。
なお、の記事ではGoogle Keepの便利ワザを画像豊富に紹介しているので、ぜひご覧ください。
スマホ版Google Keepの写真に手書き
Google Keepの写真に手書きでメモ書きをしていきましょう。
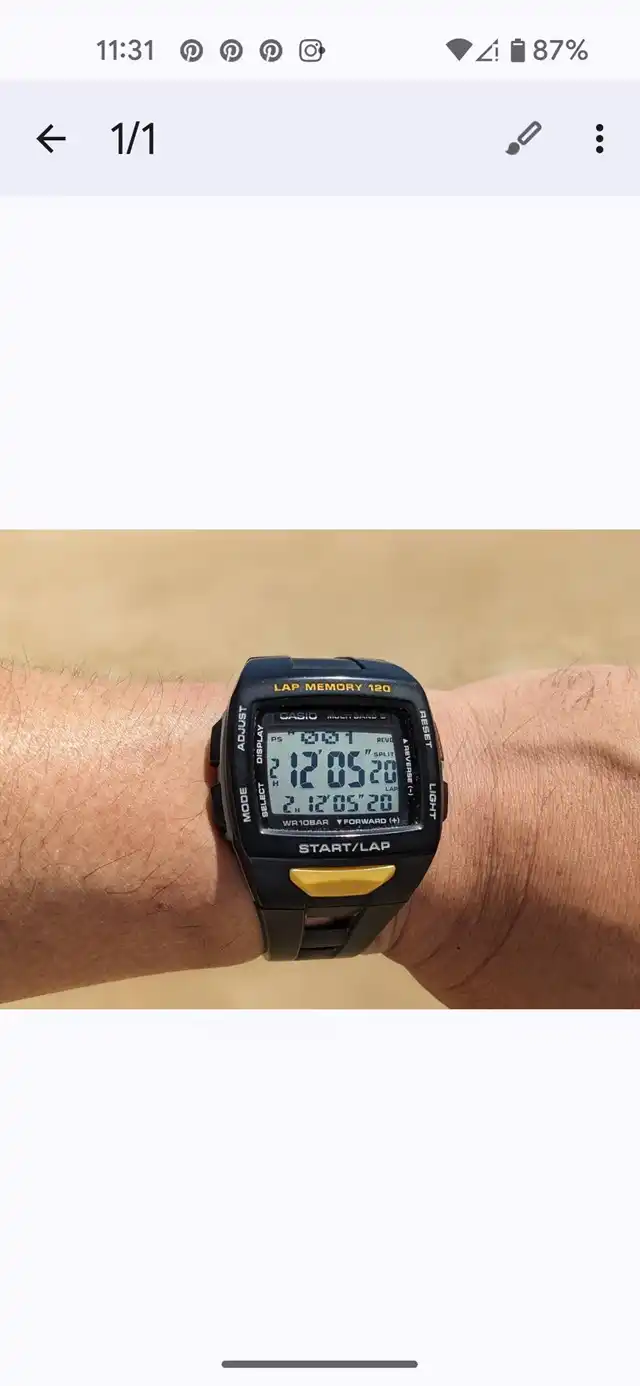
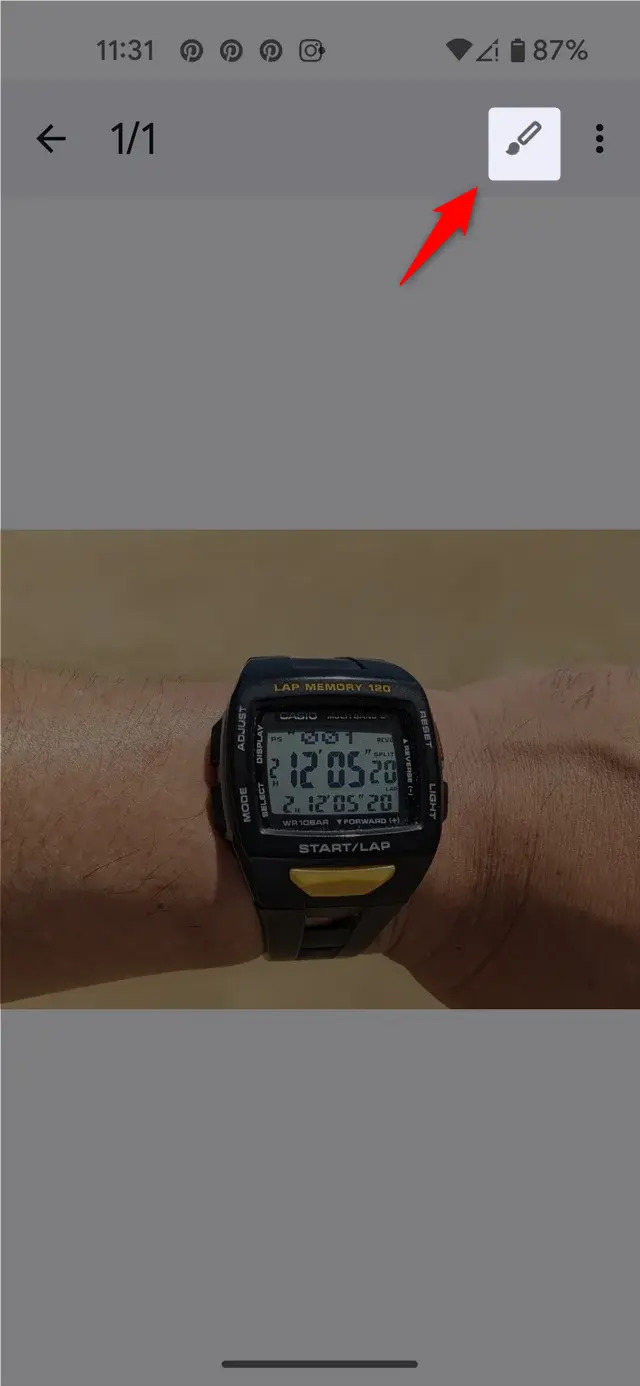
先ほどの写真付きメモの画像部分をタップしてください。
そうすると写真がクローズアップされた表示になります。
右上のにある筆アイコンを選択してください。
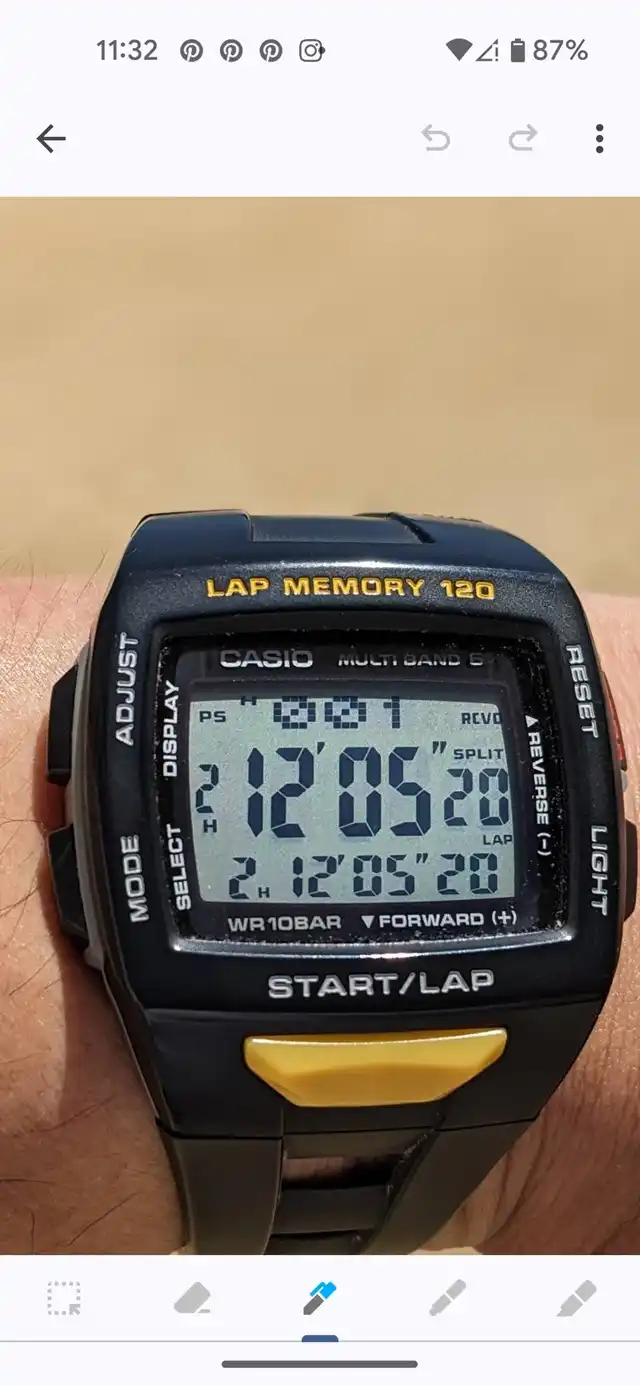
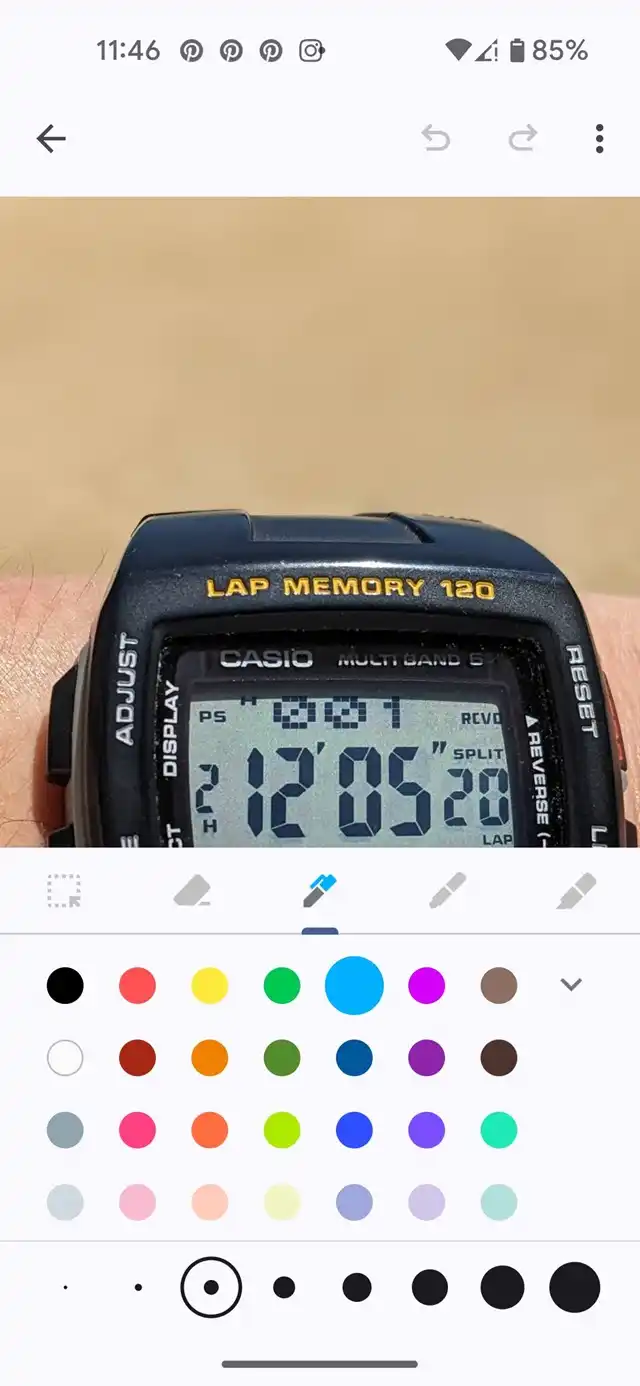
写真がさらにアップされるので、画面下にある描画ツールをタップして指先で写真をなぞりましょう。
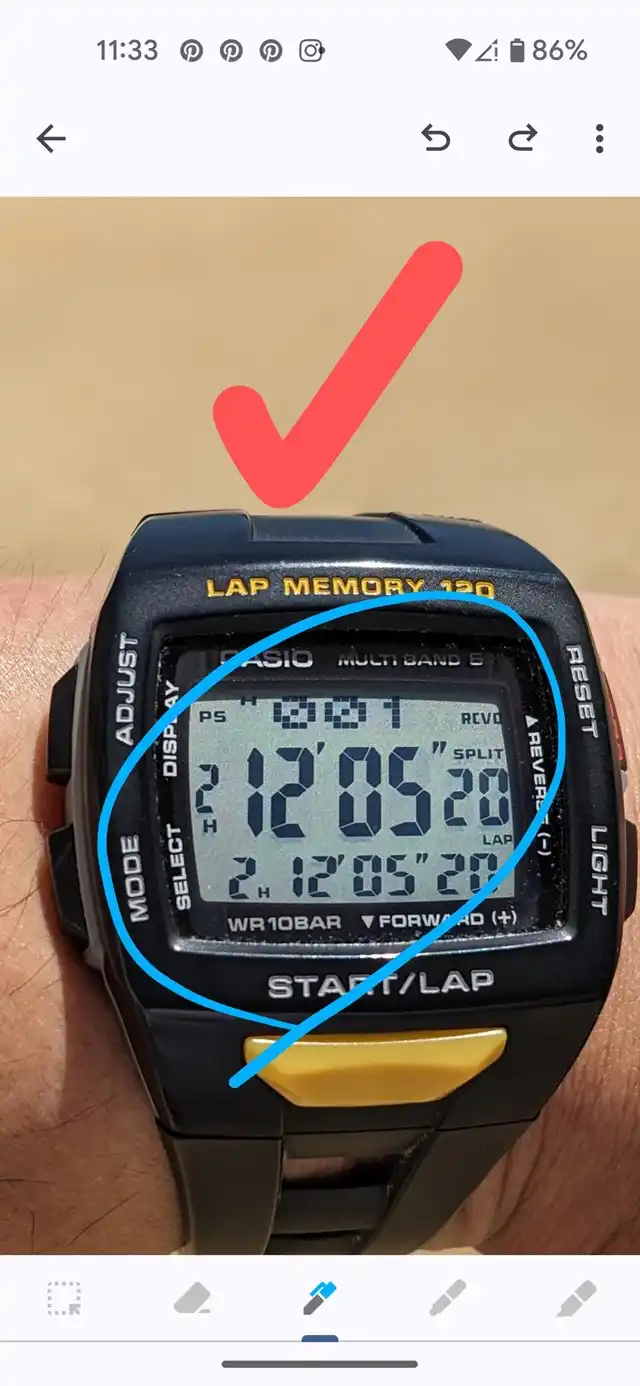
たとえばこんな感じの雰囲気になります。
なお、筆の色や太さはカスタムできます。↓の画像の箇所を上にスワイプしてください。
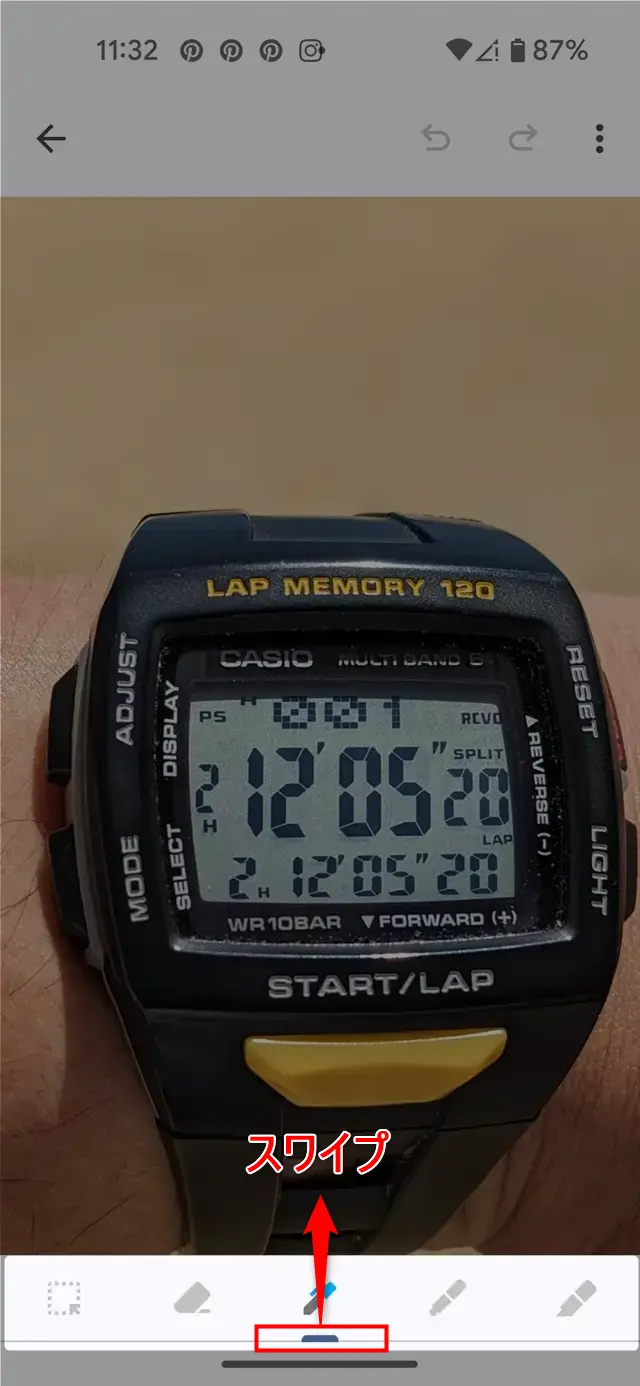
下のような感じで色や太さを変えられます。
それ以外にも右上の︙をタップしてください。

そうすると下のようにグリッド線を表示させてその上に文字を手入力することもできます。
けっこう色々とできますね。

それにしてもGoogle Keepはずいぶん進化してます!
スマホの場合は手入力の方が早いことが多いので、ぜひ活用してみてください。
Google Keepは写真も貼れるメモアプリはPCでも利用できる!
Google KeepではPCからでも写真を貼ることができます。
もちろん、マウスで描画することも可能です。
それではさっそく見ていきましょう。
PC版Google Keepに写真の貼りつけ
まずGoogle Keepを起動して下図の箇所をクリックしてください。
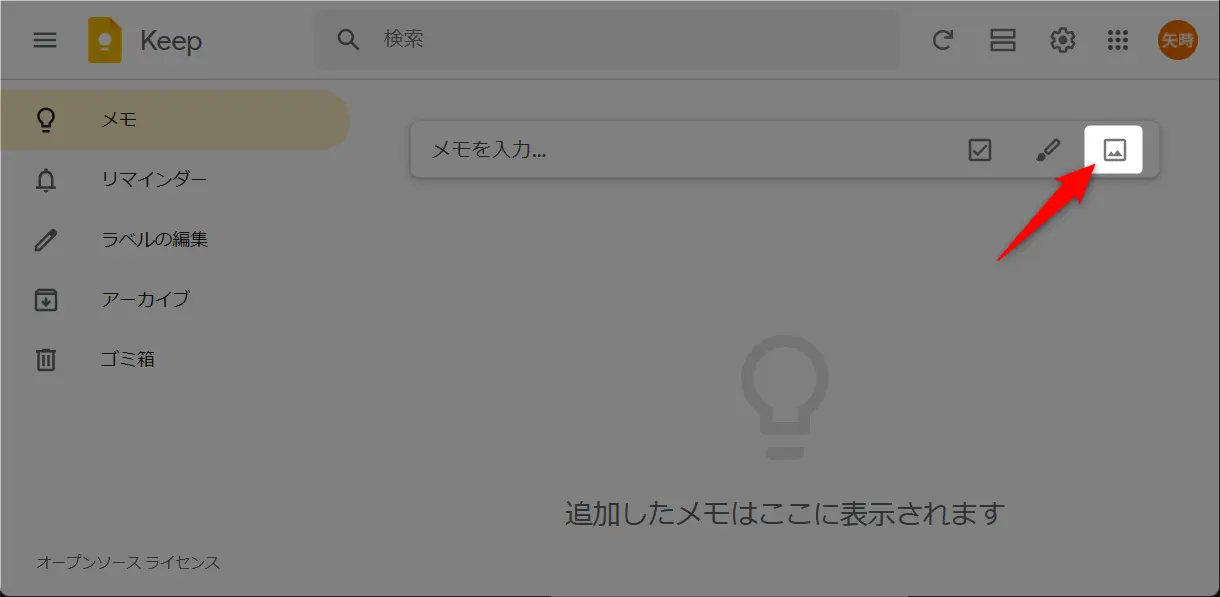
写真の選択画面が表示されます。
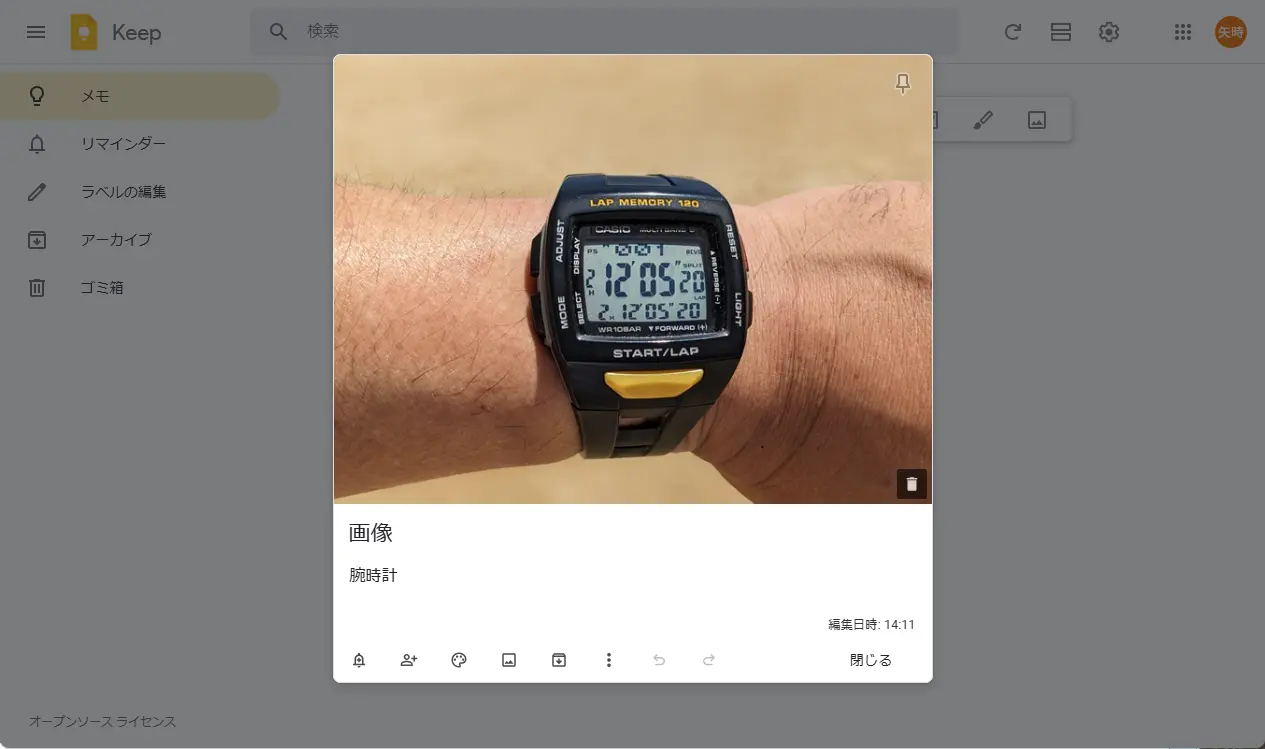
写真を選択すると↓のようにメモが貼り付けられます。
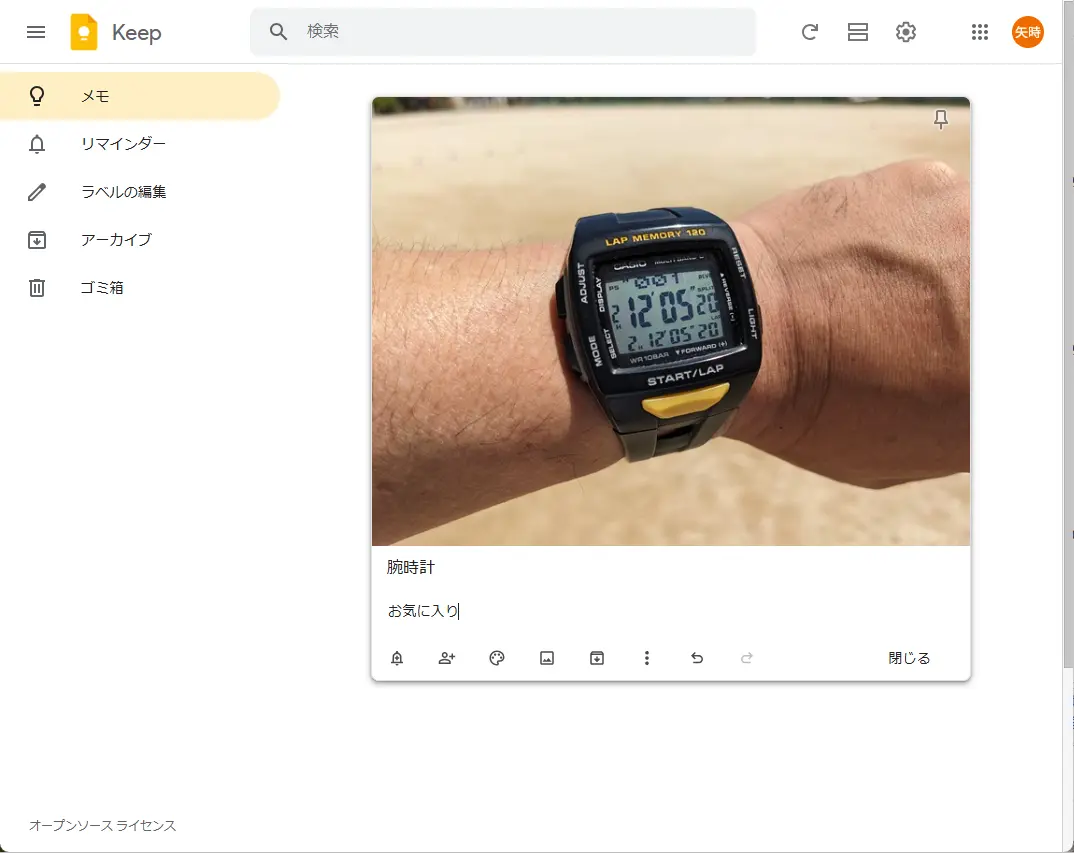
そして右下の閉じるを押しましょう。
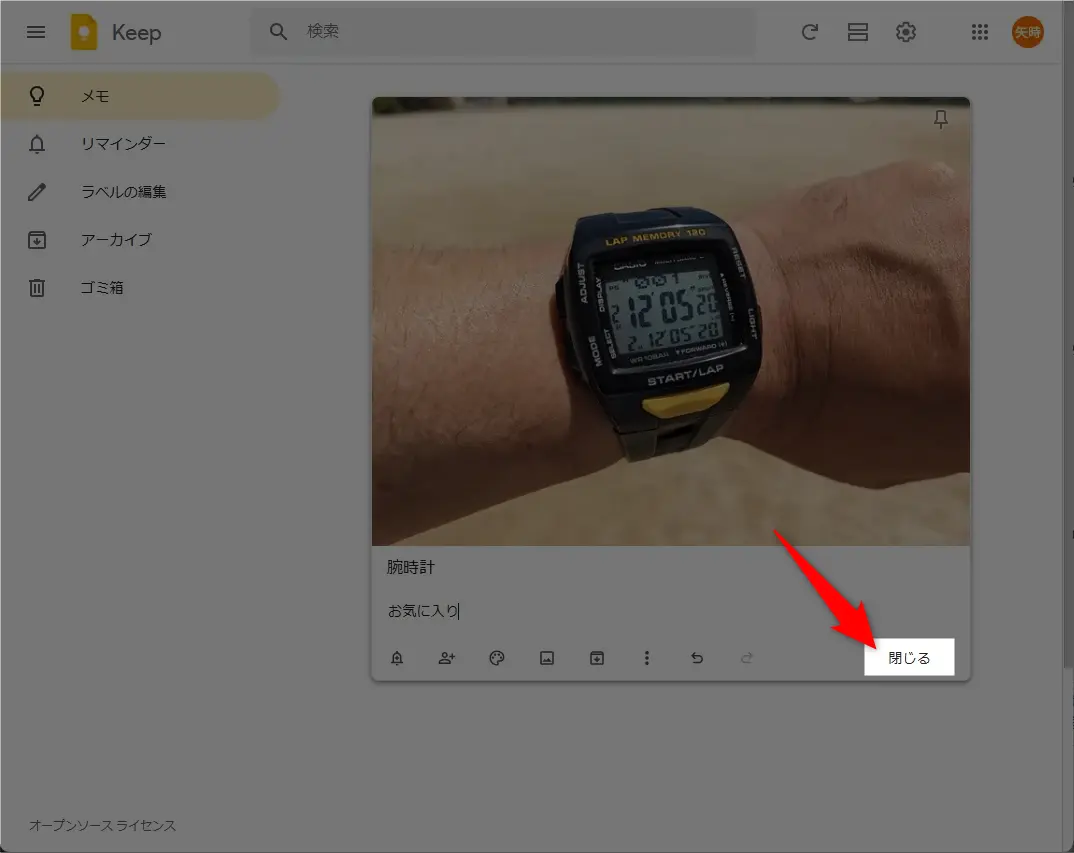
するとメモ一覧に表示されます。
スマホよりわかりやすいと思うのでぜひお試しください。

それでは次に、この写真にマウスで文字を手書き入力していきましょう。
PC版Google Keepの写真にマウスで手書き
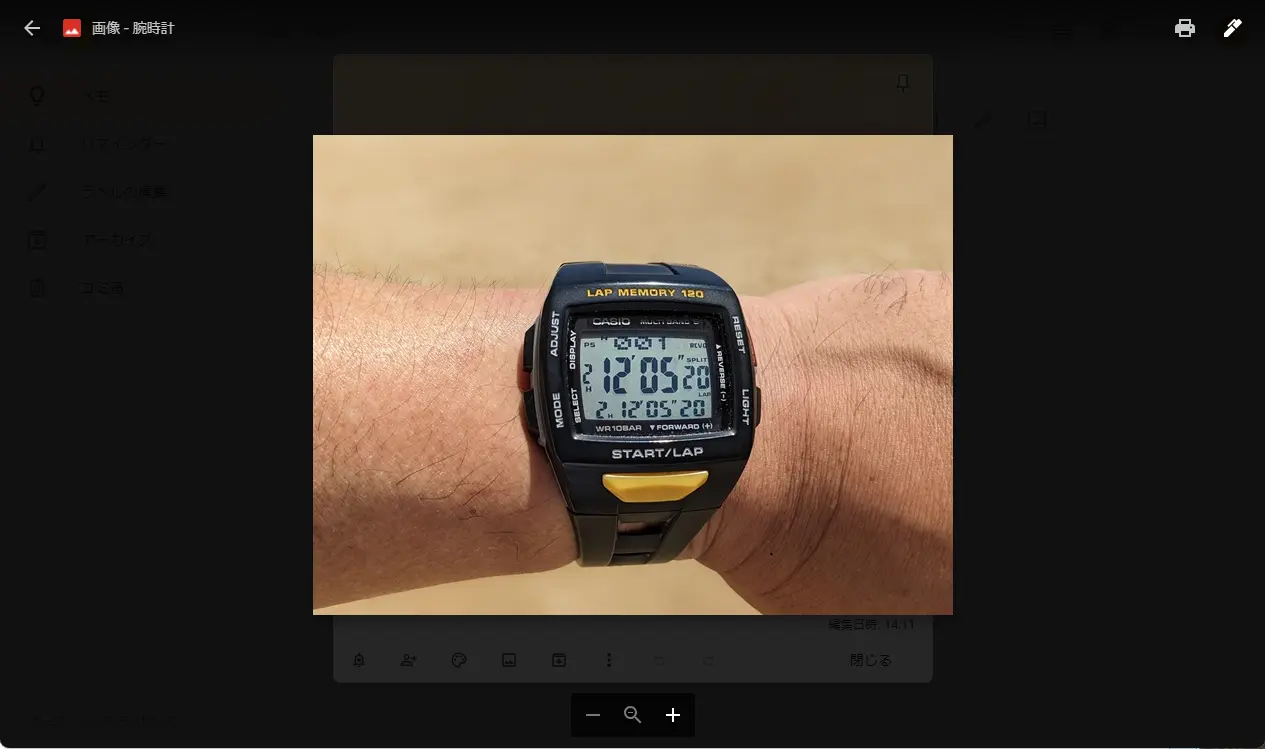
先ほど写真を貼り付けたメモをクリックしてください。

下のようにメモがアップされます。ここからさらに写真の部分をクリックしてください。
背景が黒になります。
画面右上のペンマークをクリックしましょう。
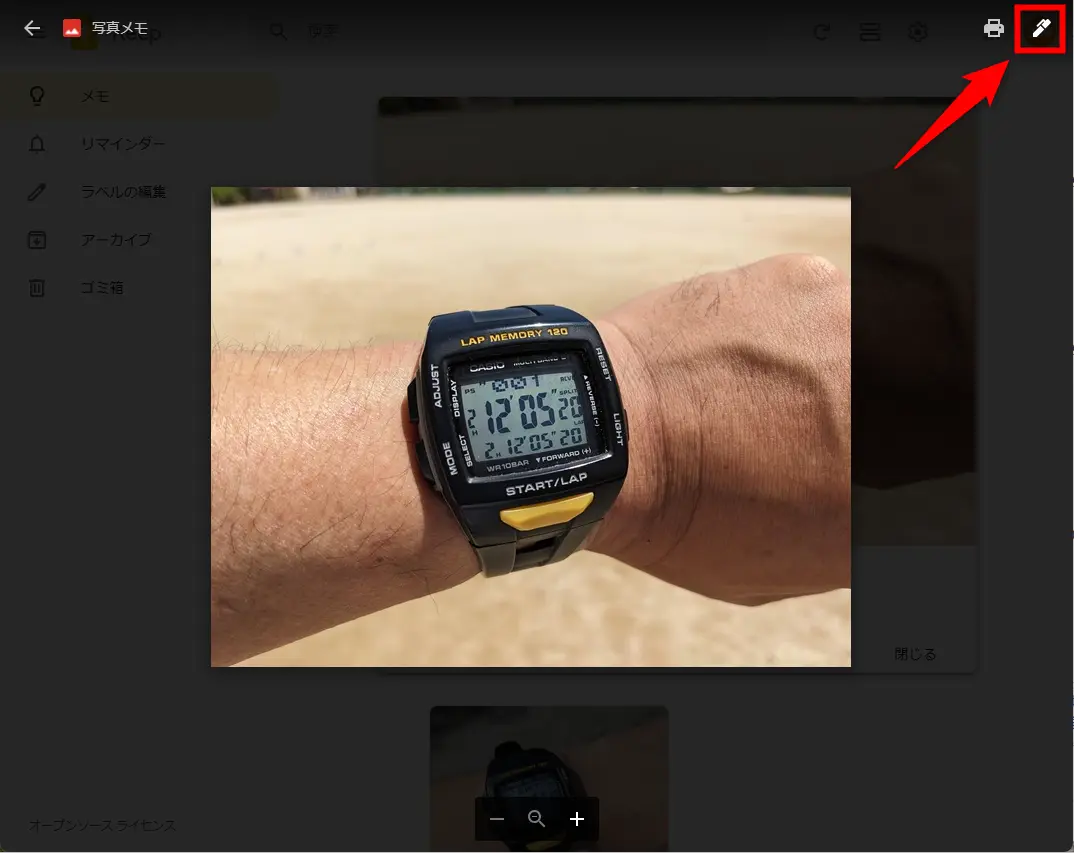
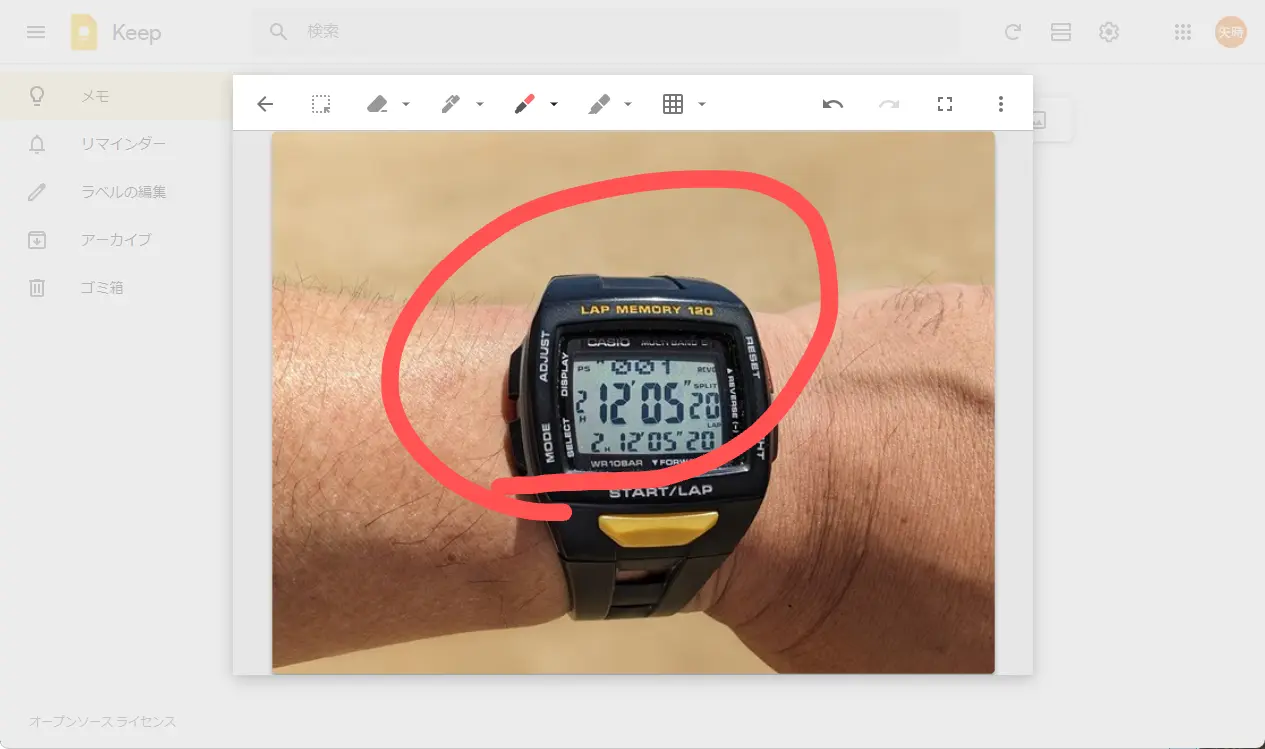
描画画面が出るので、ペンツールを選択してマウスで描画しましょう。
しかし、2024年現在のところ、↓のようにカクカクしてしまって画像処理がスムーズではありません。
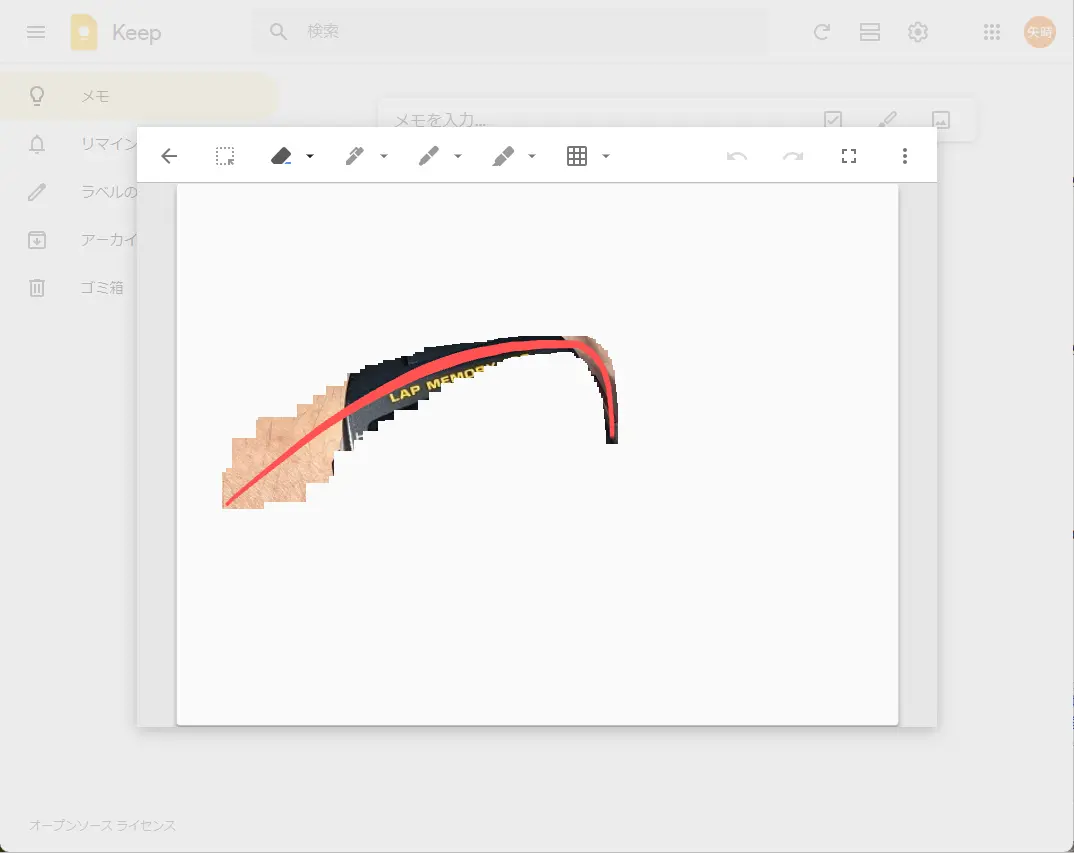
私のPCはそこそこスペックが高いので、もしかしたらネット環境の影響かもしれません…。
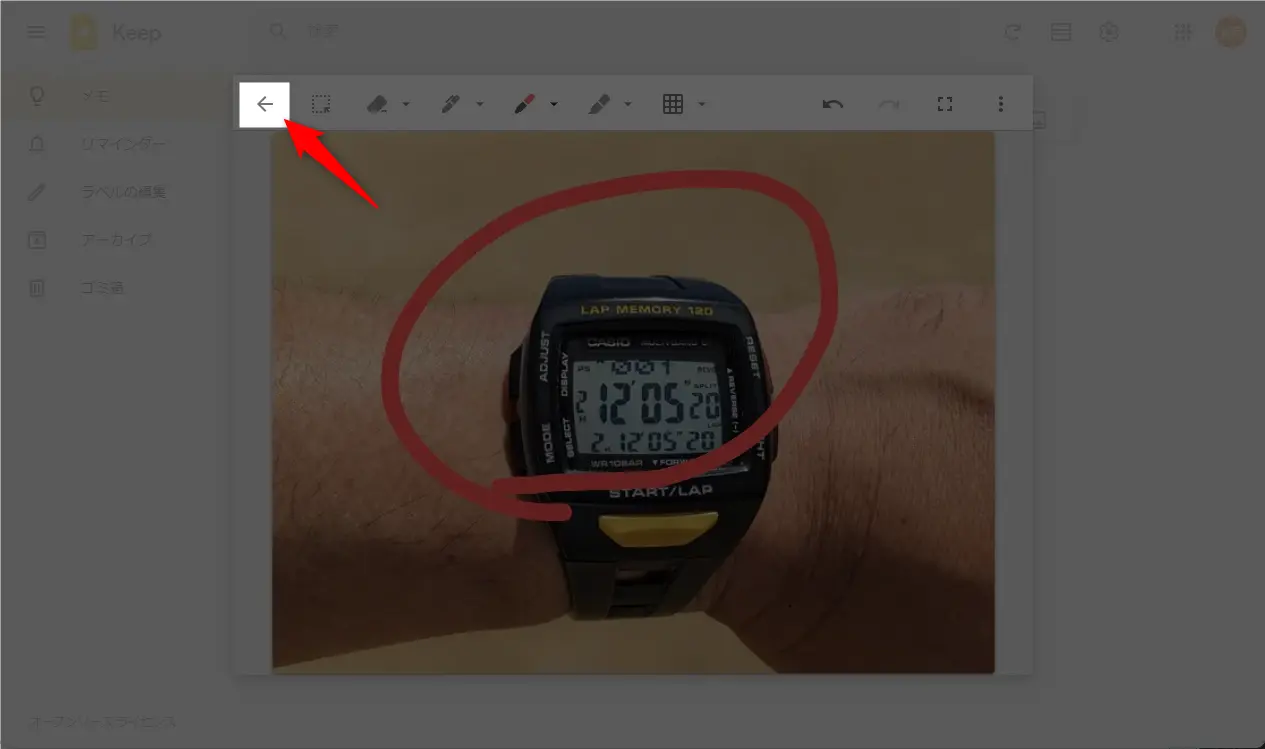
なんやかんやでこんな描画になります。
書き終わったら左上の←をクリックするとメモ一覧に戻ります。
マウスで入力した写真付きのメモが表示されていることが分かります。
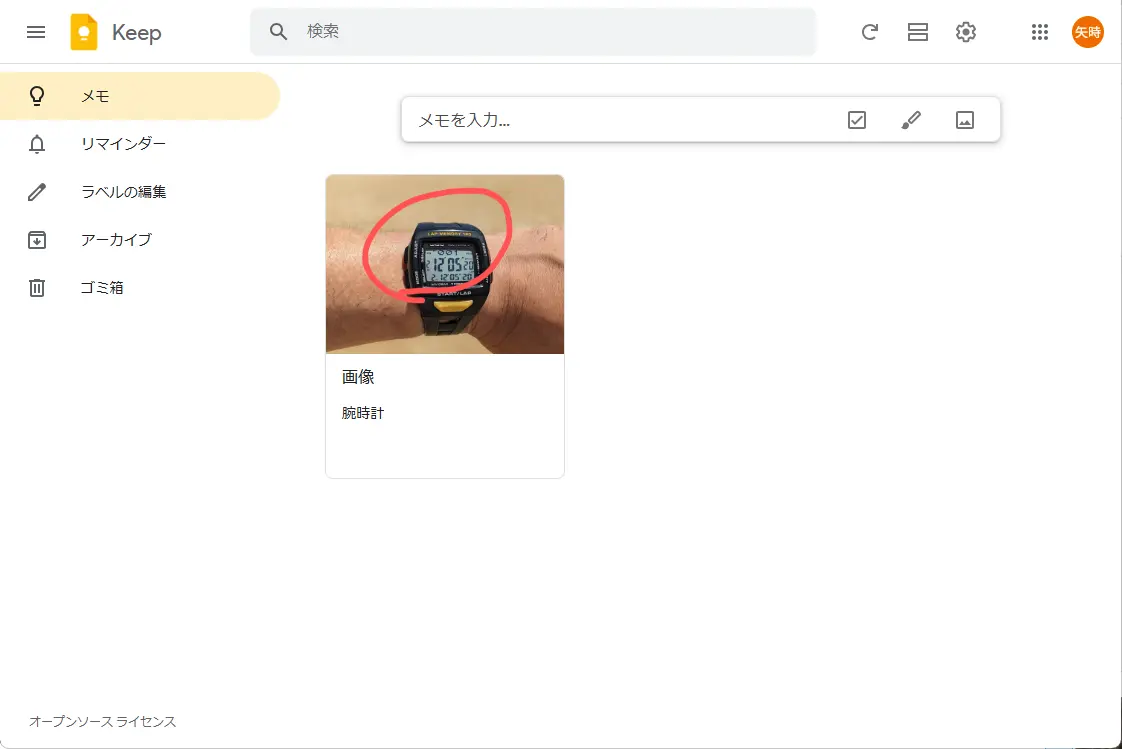
便利な機能なのでぜひお試しください!
Google Keepの関連記事
Google Keepにはふいに浮かんだアイデアをすぐメモできる便利ワザがたくさん!
ビジネスやプライベートに活かせる超便利機能です!

いざ!というときに役立ちます
▼ Google Keepの関連記事
基本・便利ワザが満載 ※クリックで開きます
まとめ)Google Keepは写真も貼れるメモアプリ

以上、『Google Keepは写真も貼れるメモアプリ』と題して、PCやスマホ(AndroidとiPhoneなど)での操作方法をお伝えしました。
PCやスマホのどちらも少しクセがあるので、何回かテストしてみるといいかもしれません。
こうした使い方を覚えておくと買い物で大いに役立ちそうです。
ぜひお試しください!
コメントはお気軽にどうぞ!